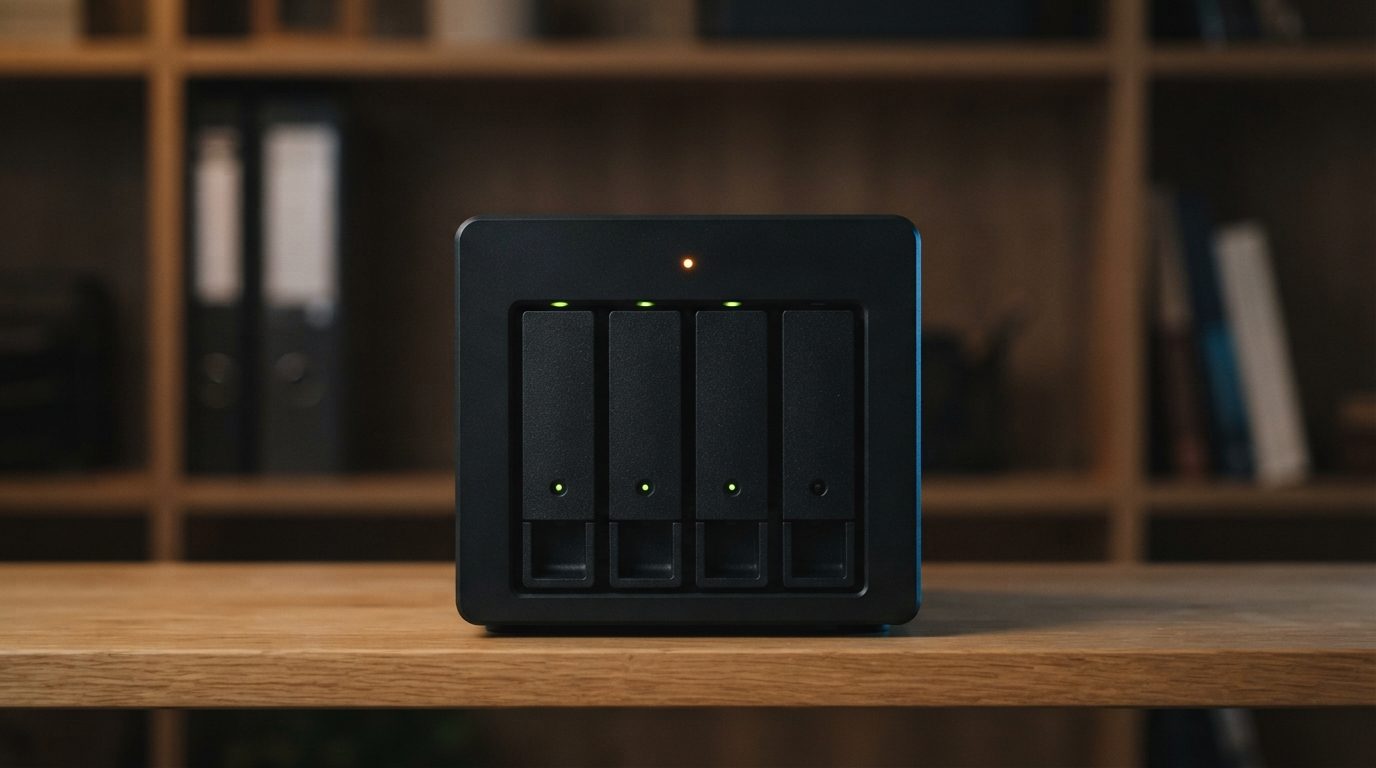
Quick answer: A Synology flashing orange light on the STATUS LED usually means the NAS has started but found a problem with its storage: a degraded or crashed volume, a failing drive, no volume, or a missing or damaged DSM system partition. Check the exact status before you touch any drive, and avoid initializing, repairing or reinstalling until your data is safe.
What does a Synology flashing orange light mean?
A Synology flashing orange light is a warning that the NAS has power and has started up, but something in its storage or operating system needs your attention. The light tells you there is a problem. It does not tell you which one.
On most DiskStation models, a blinking orange STATUS LED points to one of these conditions:
- Volume degraded: one drive in a redundant array (SHR, RAID 1, RAID 5, RAID 6 or RAID 10) has failed or dropped out. The data is still readable, but the safety margin is gone.
- Volume crashed: more drives have failed than the array can tolerate, or a non-redundant volume (RAID 0, JBOD, Basic) has lost a drive. Shares usually disappear.
- No volume: the NAS cannot find a usable volume on the installed drives.
- DSM not installed or system partition failed: the small partition on each drive that holds DiskStation Manager (DSM), Synology’s operating system, is missing or damaged.
Exact LED meanings vary between models, so check your model’s hardware installation guide. Also look at the individual drive tray lights. A drive LED that is orange or off usually marks the drive that has a problem.
How serious is a flashing orange light on a Synology NAS?
It ranges from “act this week” to “stop everything now”, depending on what the NAS reports. A degraded volume still lets you reach your files. A crashed volume or a failed system partition usually means the files are out of reach until someone rebuilds the structure correctly.
The real danger is often what happens next. DSM may offer buttons like Repair, Initialize, Create or Reinstall. Some of these write to the drives. If you click the wrong one, a recoverable problem can become a much harder one.
How do you find out why the light is orange?
You find the cause by letting Synology’s own tools report the status, without removing or swapping any drives. These checks only read information, so they are safe.
- Listen first. Stand near the NAS. If you hear clicking, grinding, buzzing or repeated spin-up sounds, skip the rest of this list. Shut the NAS down and go to the professional help section below.
- Note the lights. Write down the colour and pattern of the STATUS LED and every drive tray LED, and which bay each one belongs to.
- Find the NAS on your network. From a computer on the same network, use Synology Assistant or Synology’s web-based finder. The status column shows a short message such as Degraded, Not Installed, Configuration Lost or Recoverable.
- Log in to DSM if it is available. Type the NAS IP address into your browser. If the login page loads, open Storage Manager and look at the storage pool, the volume and each drive’s health status.
- Read the logs. Check the notification centre and the system log for drive errors, I/O errors or failed S.M.A.R.T. tests, and when they started.
- Take screenshots. Save what you see. If you need help later, this record saves time and helps a technician understand what happened.
Do not click anything that repairs, creates, initializes or reinstalls during these checks. You are only gathering information.
Which Synology status means what, and what should you do?
Each status message calls for a different response, and in each case one common reaction makes things worse. Use this table as a decision guide.
| Status or symptom | Likely cause | What to do | What not to do |
|---|---|---|---|
| Degraded | One drive has failed or been dropped from a redundant array | Copy your important files to another device first | Do not start a repair before your data is copied; do not pull a healthy drive |
| Crashed | Too many drives failed, or a non-redundant volume lost a drive | Shut down cleanly, label the bay order, get a professional evaluation | Do not delete the volume, create a new one or initialize drives |
| Not Installed / Configuration Lost | DSM system partition missing or damaged | Stop and check whether the drives held data before reinstalling anything | Do not choose any option that erases data or sets up the NAS as new |
| No volume | Volume structure unreadable, or drives not detected | Confirm all drives are seated and detected; then stop | Do not create a volume on the existing drives |
| Drive tray LED orange, S.M.A.R.T. warnings | Bad sectors (damaged areas on the disk) or a failing drive | Back up now while the array still reads | Do not run heavy jobs or scrubs on a weak drive if data is not backed up |
| Clicking, grinding or beeping drive | Physical failure, often the read/write heads | Power off and leave it off | Do not keep restarting the NAS to “see if it comes back” |
What should you do if your Synology volume is degraded?
If the volume is degraded, your first job is to copy your important data somewhere else while the NAS can still read it. Fixing the array comes second.
When a drive drops out of a redundant array, the remaining drives carry the whole load. A repair (rebuild) reads every sector of every remaining drive. If one of them is also weak, the rebuild can fail partway and turn a degraded volume into a crashed one. Drives bought together and run together often age together, so this risk is real.
A sensible order looks like this:
- Copy the files you cannot lose to an external drive or another system, starting with the most important ones.
- Check that the copies open properly.
- Only then think about replacing the failed drive, as routine hardware maintenance.
If the copy fails, slows to a crawl, or another drive starts showing errors, stop. That is a sign the remaining drives are struggling, and further stress can cost you data.
What mistakes make a Synology orange light worse?
Most serious NAS data loss comes from well-meant fixes after the warning, not from the warning itself. Avoid these common mistakes:
- Starting a repair without a backup. A rebuild is the hardest workload the remaining drives will face.
- Removing the wrong drive. Pulling a healthy member from a degraded array can crash it instantly.
- Reordering drives. Moving drives between bays, or putting them back in a different order, confuses the array.
- Connecting NAS drives to a Windows PC. Windows cannot read Synology volumes and may prompt you to initialize or format the disk. Saying yes overwrites key structures.
- Reinstalling DSM or resetting to factory settings without knowing which option keeps data.
- Running disk check tools or trial-and-error recovery software on the member drives. Each attempt can lower the chance of a clean recovery.
- Power-cycling again and again when a drive makes noise.
How do you prepare a Synology NAS for professional recovery?
Shut it down cleanly, record the drive order and keep every drive exactly as it is. If DSM is reachable, use its shutdown option. If not, press and hold the power button until the unit turns off, then unplug it.
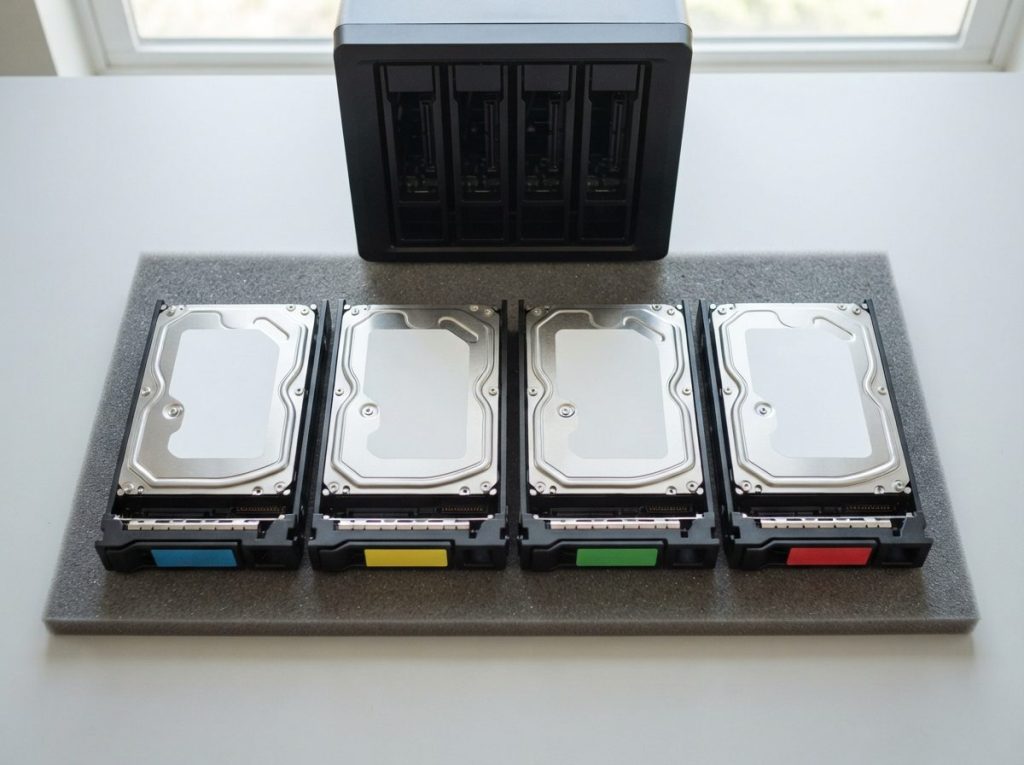
Before removing anything, label each drive with its bay number using tape or a sticky note on the tray, never on the drive’s circuit board. Include any drives you already pulled out, and mention them when you ask for help. Send the drives in their trays or in anti-static bags, padded well. Including the NAS enclosure can help, especially for encrypted volumes, and so does sending your DSM version, RAID type and any encryption keys or passwords.
When should you stop and get professional help?
Get professional help when the volume is crashed, more drives have failed than the array allows, a drive makes physical noise, or a repair has already failed. The same applies if the data matters and you are unsure about the next click.
Other clear signs include a “Not Installed” or “Configuration Lost” message on a NAS that used to hold data, encrypted shares you can no longer open, and a copy-off that keeps failing on a degraded volume. In each case, the safest move is to stop writing to the drives and let a lab work from copies.
How does professional Synology data recovery work?
Professional recovery works on exact copies of each drive, rebuilds the array virtually, and never writes to your original disks. At Prime Data Recovery in North York, Toronto, our Synology data recovery service follows the same order every time:
- Free evaluation and diagnosis. We test each drive individually. For hard drives, PC-3000 Express helps us check the PCB (circuit board), heads and firmware.
- Findings and quote. You get a clear explanation and a quote, and nothing proceeds without your approval.
- Physical repair if needed. A drive with failed heads may need a head stack replacement from a matching donor drive. That work is done only in our ISO certified Class 10 cleanroom.
- Controlled imaging. Imaging means making a sector-by-sector copy. We use the DeepSpar Disk Imager to read weak drives gently, without writing to the original.
- RAID reconstruction and recovery. RAID reconstruction means working out the original disk order, stripe size and parity from the images. Synology volumes typically sit on Linux RAID layers with a Btrfs or ext4 file system, which we rebuild from the images with tools such as ACE Lab Data Extractor. You then check your files in a file verification session.
- Delivery. Your recovered data comes back on a new storage device.
You can read more about each step on our page explaining how the data recovery process works. For larger arrays and business systems, our RAID data recovery team offers 24/7 emergency support for servers.
Key takeaways
- A Synology flashing orange light means the NAS started but found a storage or DSM problem.
- Check the exact status in Synology Assistant or Storage Manager before touching any drive.
- Degraded: copy your data off first. Repair comes later, if at all.
- Crashed, Not Installed or noisy drives: shut down, label the bay order, and stop.
- Never initialize, create a new volume, reorder drives or connect them to a Windows PC.
- Professional recovery works from images of each drive, never from the originals.
Need help with a Synology showing an orange light?
Prime Data Recovery is an independent lab in North York, highly rated on Google, serving the GTA and customers across Canada by shipping. You get a free quote and evaluation, a fast and free 30-minute diagnostic, and our “No Data, No Fee” promise. Your data is handled confidentially, in line with Canadian privacy law (PIPEDA). Request a free quote or call (416) 661-1112 to talk about your NAS.
Frequently Asked Questions
Is a blinking orange light on a Synology worse than a blinking blue power light?
Not necessarily worse, just different. A blinking orange STATUS LED usually means the NAS started up and found a storage or DSM problem. A blinking blue power light on many models points to a startup or hardware issue with the unit itself. In both cases the data lives on the drives, so keep them in their original bay order and avoid resetting or reinstalling anything.
Can I move my Synology drives to a new NAS to fix the orange light?
Moving drives to another compatible Synology unit is sometimes possible, but it is risky when the volume is degraded, crashed or reporting configuration problems. The new unit may offer to reinstall DSM or set up a new system, and the wrong choice can overwrite data. If your files are not backed up, get the drives evaluated before trying a migration.
Why is my Synology orange light flashing after a power outage?
A sudden power loss can drop a drive out of the array, damage the DSM system partition, or leave the file system in an inconsistent state. Any of these can trigger a flashing orange light. Check the status in Synology Assistant or Storage Manager, avoid repeated restarts, and copy important data off if the volume is still readable.
Will a factory reset clear the orange light on my Synology NAS?
A reset might change the light, but some reset and reinstall options rebuild the system and can erase volumes. That trades a warning light for lost data. The light reflects a real storage condition, so the safer approach is to identify that condition first. If the NAS holds data you need, do not reset it until the data is backed up or recovered.
Can data be recovered from a crashed Synology SHR volume?
Often, yes, though no lab can guarantee it. Success depends on how many drives have failed, whether they have physical damage, and whether anything was written after the crash. A lab images each drive, repairs physically failed ones in a cleanroom if needed, and rebuilds the SHR layout virtually from the images. Avoid creating new volumes or initializing drives in the meantime.
